post

Crafty Friends Update

A note to my friends… (part 3 ~ Crafty Friends)

Hello Crafty Friends!

I hope you’re enjoying my updates this week. I have to say it has been really fun for me. I’m enjoying sharing with you and in return, a couple of you have reached out to say hello, share a smiley face and even drop me an email. I am loving the feeling of connecting with you. Isn’t that what we all need right now?

Mostly, I thank you for participating, peeking your little head in to respond back and let me know we are in this together!

So, today is Part 3 in my little series of notes to you and I’m saying a specific hello today to all of my Crafty Friends! If you missed Part 1 you can read it here. Part 2 can be read here.

So my Crafty Friends…

What can I share with you today? Well, first let’s figure out who I mean by Crafty Friends. To me, the Crafty Friends may just be the BEST. Shhhh… don’t tell the others, I may be playing favorites 😊 However, to me, the CRAFTY ones are probably the most similar to me. We love crafting just to CRAFT. We make a little bit of everything AmIRight?! We are not just addicted to paper, planners, stickers, sewing, journaling, etc. We like to dip our hands into anything we can find!

Crafty Friends

Crafty Friends can paint, sew, make cards, iron on stuff, use Mod Podge, staple things, photograph people, journal, Bible study, make soap, have Golden Scissors, probably have 15 different types of adhesive (for all occasions,) cut wood, use machines like Cricut, Silhouette, laminators, use foils, lots of sticker paper, may wear an apron, sometimes even goggles, and may have lost the feeling in the tips of their fingers from that darned glue gun!

Are you with me? We have “war wounds” from our crafty adventures, we have bled for our art (even if it was only a paper cut, it counts!)

My committment to you…

So, with you Crafty Friends, fellow warriors, here is my renewed commitment to you. I will be sharing more crafting tutorials on my YouTube Channel. This is one I have struggled with for a long time… but I figured now is the time. Get over it and just do it. So stay tuned for more of those to come along with easy to follow PDF tutorials you can save for your next crafting session.

Some of the projects I have coming up include:
Wall Art – using sticker paper
Mini Albums – for photos, memory keeping and even sticker storage
Planner Pages, Meal Planning and Planner Organization
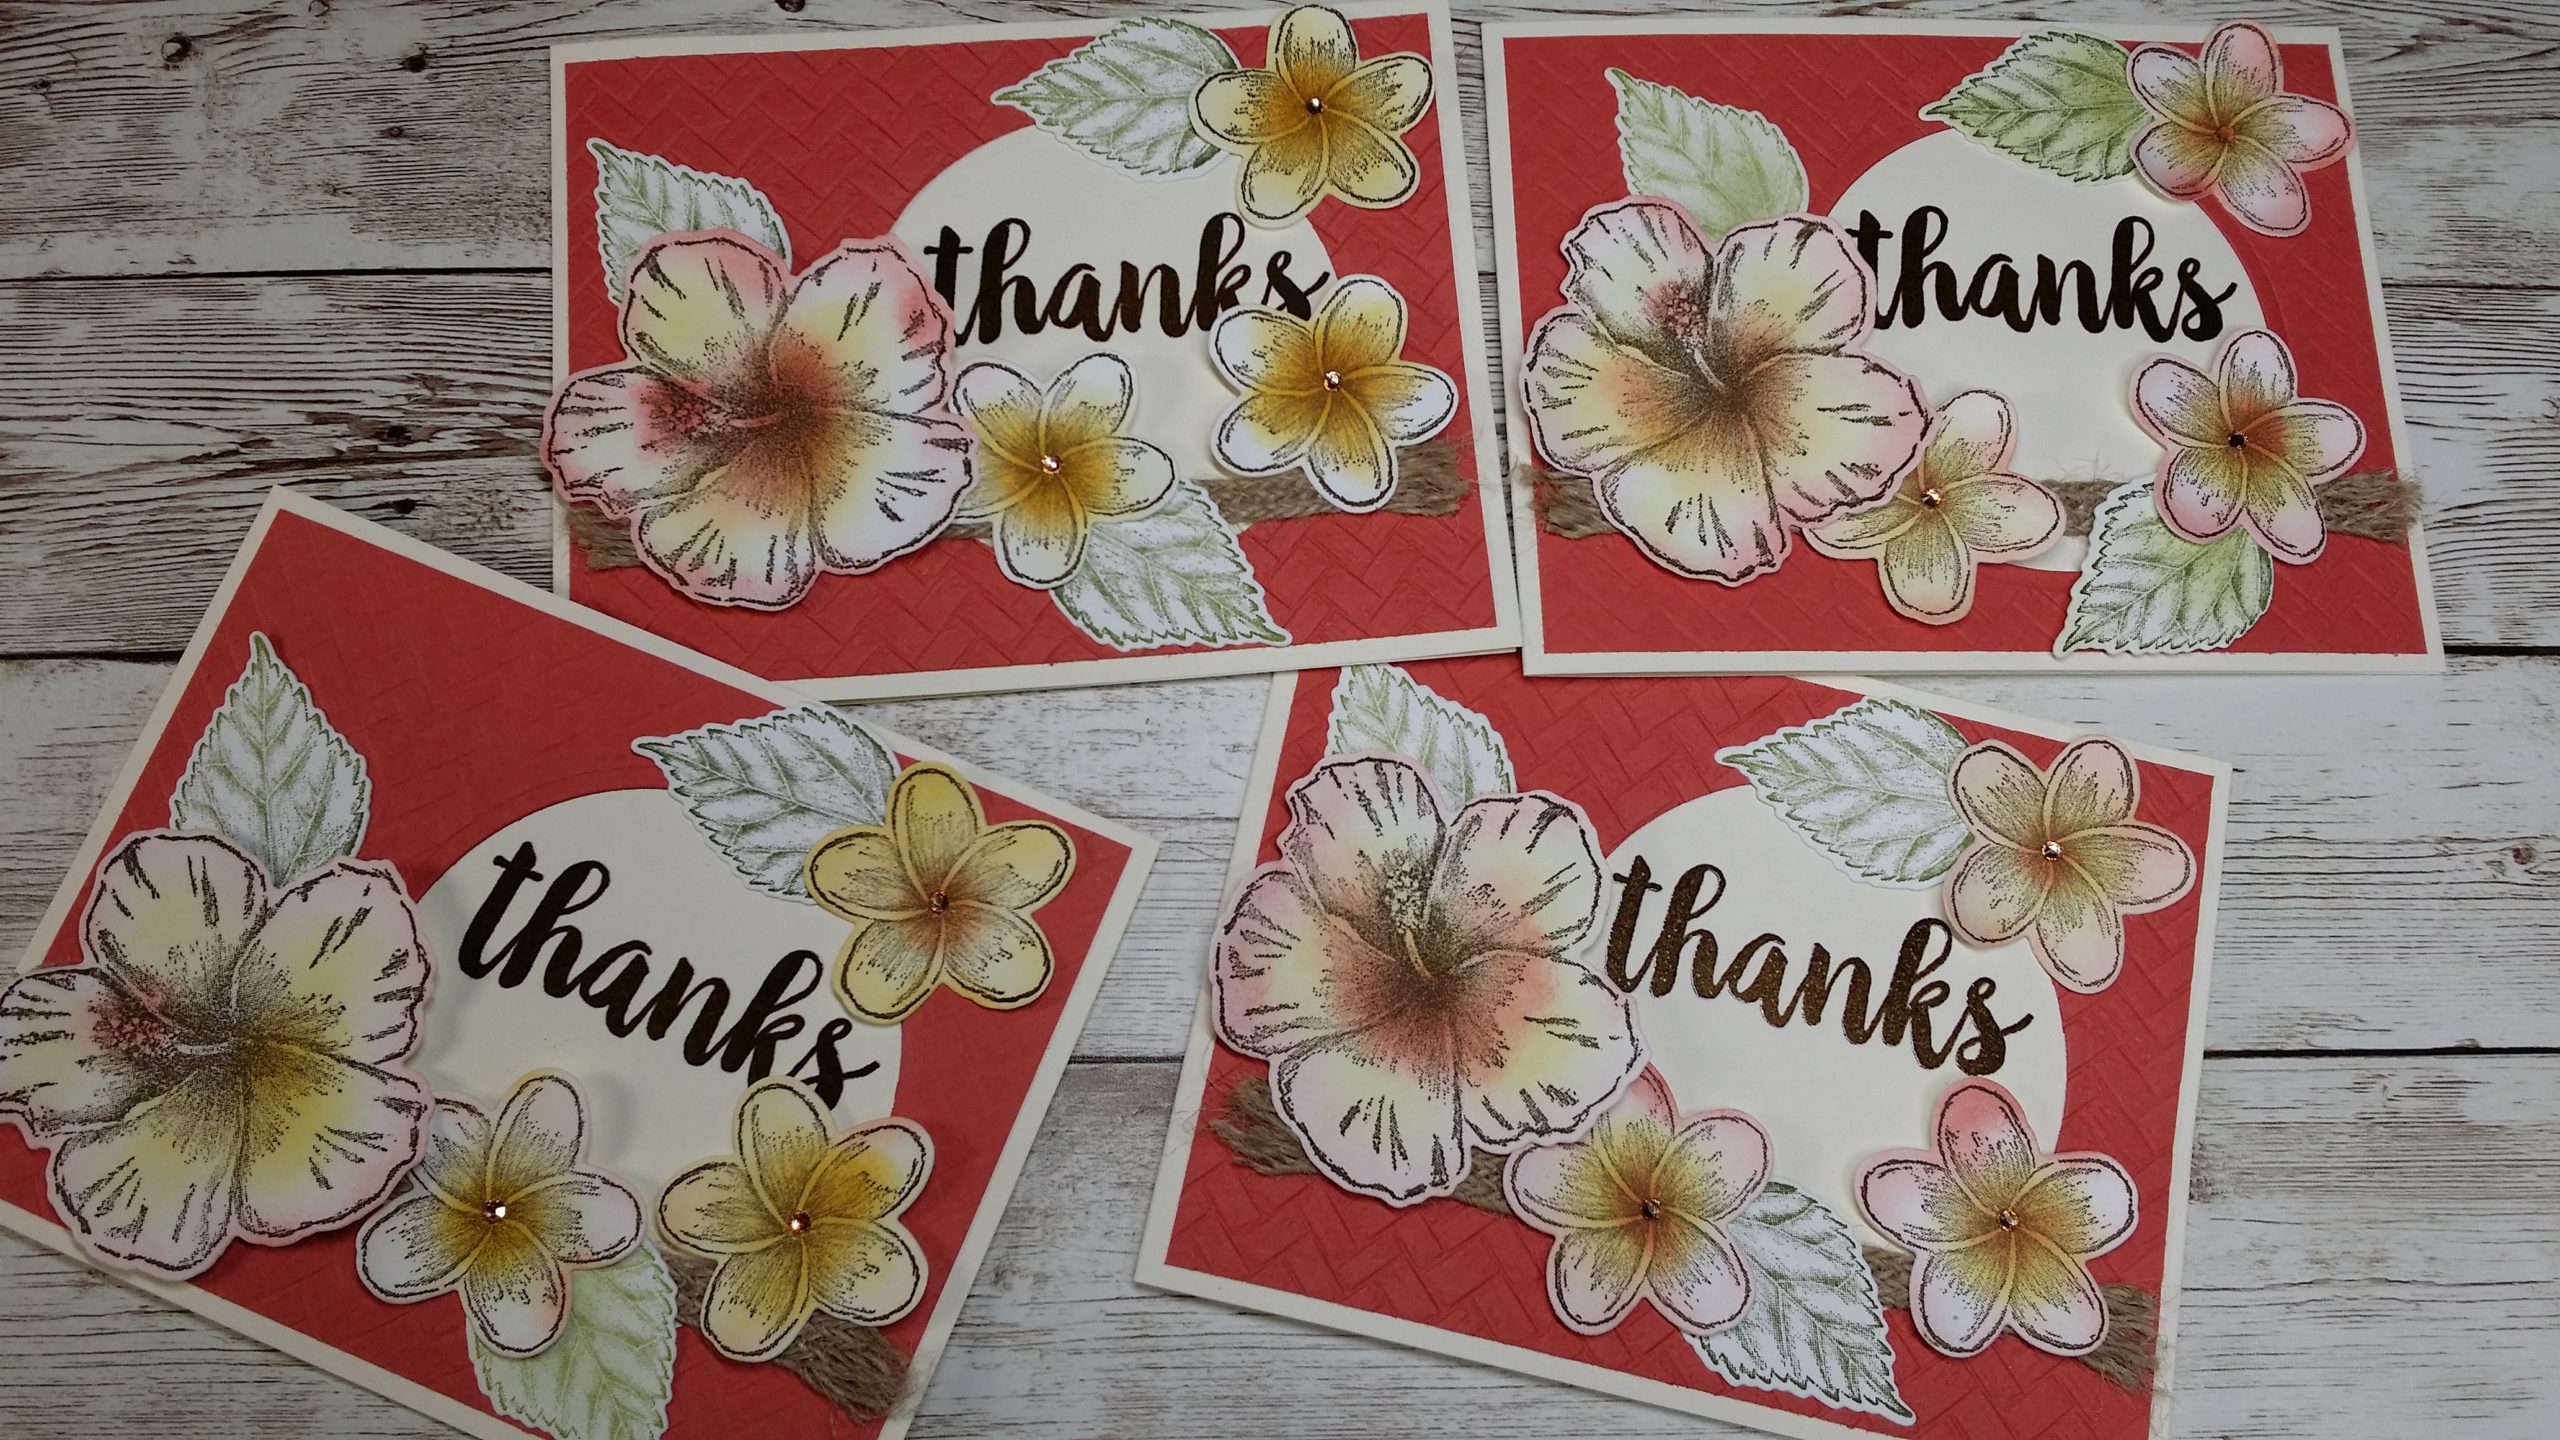
Card Making Tutorials
Making Your Own Templates for Projects
And so much more!

I hope you’re excited and please give me a little shout out to let me know you’re here! Wave hello…

X O X O

post

Tropical Oasis

Stampin’ Up! Tropical Oasis ~ Thank You Card Tutorial

These were really fun cards to make.

The colors are so fun and the stamp set I used, Stampin’ Up! Tropical Oasis just makes me happy! Very Hawaiian in my eyes and makes me feel like I’m on vacation!

I’ll have a list of the supplies I used to achieve this look. There is also a FREE PDF for you to download below!

Stampin' Up! Tropical Oasis Larris Livin Lite
All Images © Stampin’ Up! ~ Tropical Oasis Tutorial Larris Livin Lite
Vote for Larris Livin Lite

This month I am participating in Kylie’s Monthly International Blog Highlights! Woot.

How fun is that?! So, Please take a look at my card and tutorial below, then please Vote for Larri!

Vote for Larris Livin Lite

I simply embossed the Terra Cotta Tile cardstock with the Basket Weave embossing folder, then cut a circle out of it (using the layering circle dies), sort of off to the right side, making a “window” where you can see through to the front of the card.

Then on the front of the card, I lined up my “thanks” stamp with this new window and stamped once with the Soft Suede ink pad. Then I stamped again with the Versamark and added the Clear Stampin’ Emboss Powder before heat setting this greeting.

This is a terrific embossing technique for getting the exact color you want while also added a high gloss and raised image from the clear embossing powder.

The flowers were all stamped on the Whisper White Heavy cardstock with the Soft Suede ink. I then die cut the images and used our sponge daubers to just add a little color around them. I just dabbed on some Mango Melody, Terra Cotta Tile and a little Daffodil Delight.

The leaves were all stamped on the Whisper White Heavy cardstock with Pear Pizzazz Ink and die cut.

I then just put everything together. Added a layer of the Braided Burlap Trim, glued the flowers and leaves on top, then added 3 of the gorgeous Champagne Rhinestones to each of the small flowers.

This is definitely a multi-step card, however, it was fun and not difficult at all.

Supplies:

(all measurements in inches)

  • Card Base ~ Very Vanilla Cardstock 11 x 4.25 Scored at 5.5
  • Layer 1 ~ Terracotta Tile Cardstock 5.25 x 4
  • Scraps ~ Whisper White HEAVY Cardstock
  • Timeless Tropical Bundle Stamps & Dies #153811
  • Coastal Weave 3D Embossing Folder #151503
  • Seriously the Best Stamps #151712
  • Layering Circles Framelits #151770
  • Soft Suede Ink Pad #147115
  • Terracotta Tile Ink Pad #150086
  • Daffodil Delight Ink Pad #147094
  • Mango Melody Ink Pad #147093
  • Pear Pizzazz Ink Pad #147104
  • Old Olive Ink Pad #147090
  • Versamark Ink Pad #102283
  • Clear Stampin’ Emboss Powder #109130
  • Braided Burlap Trim #151254
  • Champagne Rhinestone Basic Jewels #151193

Download the Free PDF Tutorial Here!

Stampin Up Tropical Oasis Tutorial Free PDF

If you make this card, please post a picture and tag me #LarrisLivinLite

Can’t wait to see what you think… Happy Craftin’

Larri Signature

PS Don’t forget, Vote for Larri Here!

Vote for Larris Livin Lite
post

Planner Friends Update

A note to my friends… (part 2 ~ Planner Friends)

So Planner Friends, a couple days ago I wrote and asked how are you doing? 

I also shared my feelings, how emotionally some days are good and some not so much. I shared a little about my thoughts, frustrations and some wins. There are still good days! I still have days where I get into my little creative factory and can really crank out some fantastic stuff… These are the moments that make it all worth it AMIRITE?? 😊

Well, I haven’t heard from you. So, I’m just saying… stay connected, reach out and give yourself grace to get through the challenging times. Life is good!

I also promised in my last note (if you missed it, please read it here) that I would be following up with a very short series addressed to each of these crafty areas: 

1.    Planner Friends
2.    Crafty Friends
3.    My Handmade Shoppers
4.    My Stampin’ Up! Shoppers
5.    My Giveaway Subscribers and Winners!!

So Today is all about YOU my Planner Friends!

Here are some of my plans and renewed commitment to you.

  • More Plan with Me Videos: I’ll be posting my Plan with Me videos again! Yay! I think this may be why you joined my mailing to begin with? I seem to have the greatest number of followers here and I appreciate you.
  • New layouts – Incorporating more Happy Planner Stickers and Teresa Collins Stickers
  • Fresh ideas – Going Free Style and just using items from my Stash to decorate my layouts
  • More variety – Incorporating more washi, stickers and even some craft paper ideas
  • More Free Printable Planner Layouts
  • More Free Printable Monthly Planner Layouts

Plus I have a Big Surprise just for the Planner Girls coming for you soon!!! I cannot wait to share it with you!

Hugs from me to you and I hope you will drop me a note back!